
Build a Free Website in 2024 Using CMS Platforms: Step-by-Step Guide
Building your own website in 2024 is easier than ever, thanks to Content Management Systems (CMS) like WordPress, Wix, and Squarespace. Whether you’re a beginner or have some technical knowledge, CMS platforms allow you to create a professional website without needing to code. This guide will walk you through the process of building a website using a CMS, from planning to launch.
SUBHEADING - INCL. KEYWORD/QUESTION
Step 1: Planning Your Website
Before you start building, it’s essential to plan your website to ensure it meets your goals and the needs of your audience.
- Define Your Website’s Purpose: Decide what you want your website to achieve. Are you creating a blog, a portfolio, an online store, or a business website?
- Identify Your Target Audience: Understand who will visit your website and what they are looking for. This will guide your design and content choices.
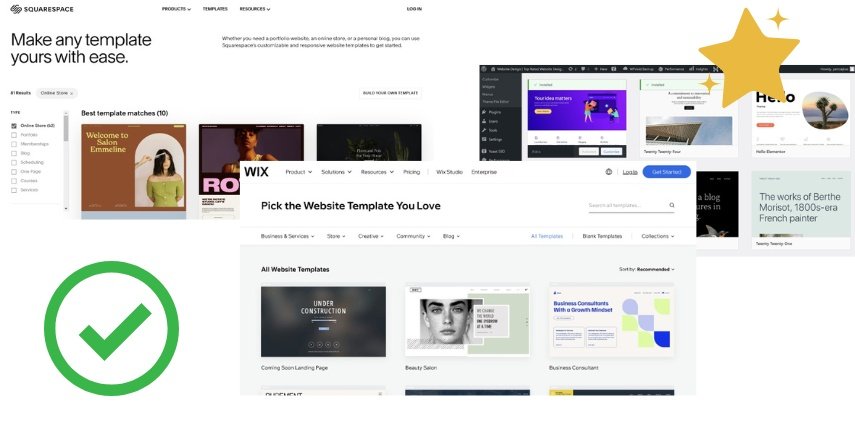
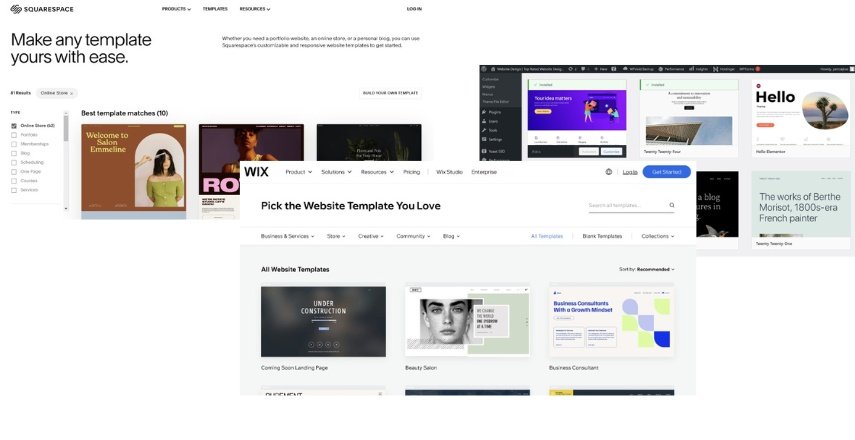
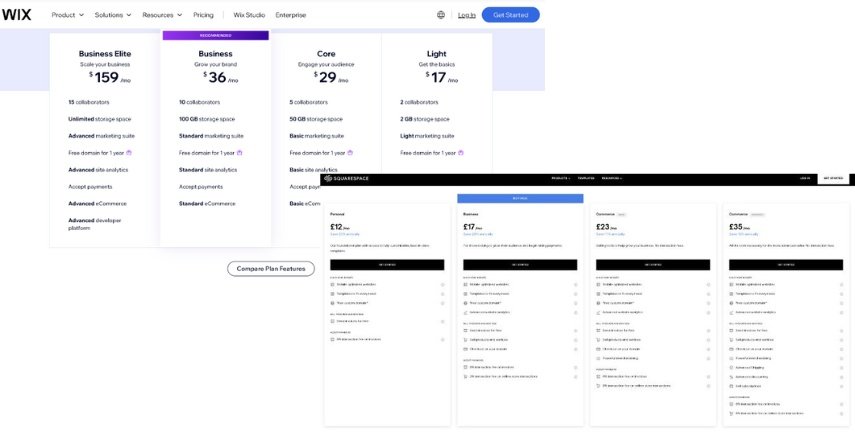
- Choose Your CMS Platform: Select a CMS platform that suits your needs. WordPress is great for flexibility, Wix offers ease of use, and Squarespace provides beautiful templates.
Exclusive Deal: Save Big on WP Engine Hosting + 4 Months FREE!
Get 4 months free on all shared hosting plans with code, wpe4free.
Step 2: Choosing a Domain Name and Hosting
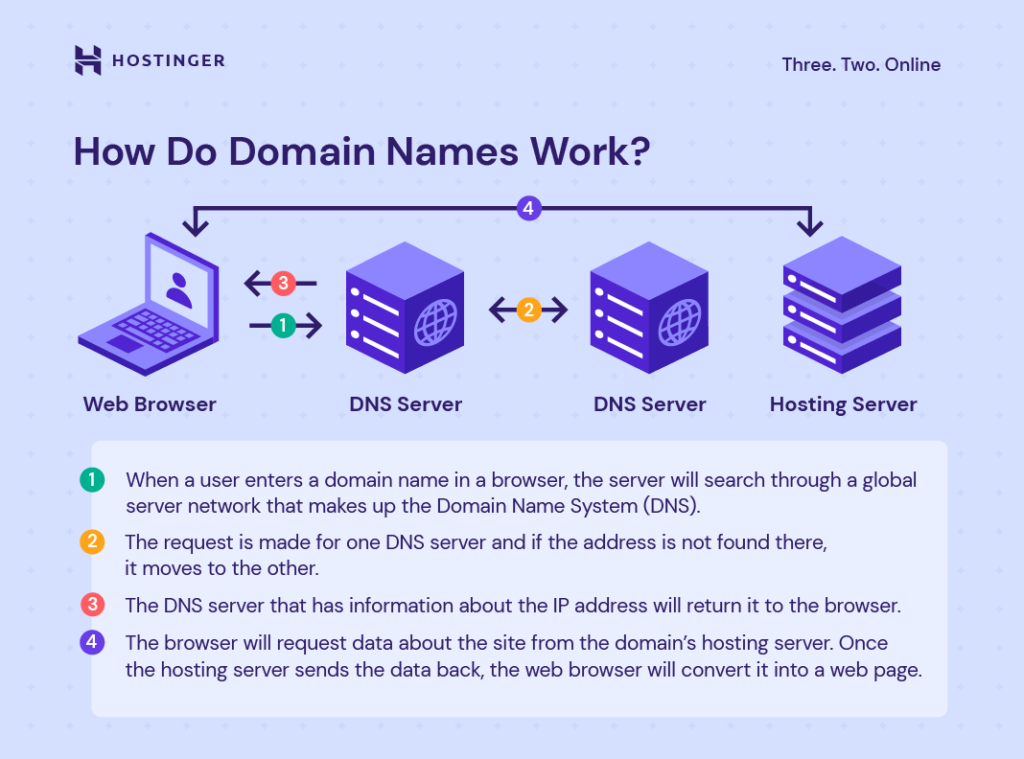
Your domain name is your website’s address, and hosting is where your website lives online.
- Choose a Domain Name: Select a domain name that reflects your brand and is easy to remember.
- Select a CMS Hosting Plan: Some CMS platforms, like Wix and Squarespace, offer hosting as part of their package. For WordPress, you’ll need to choose a separate hosting provider like Bluehost or SiteGround.
- Register Your Domain and Set Up Hosting: Most CMS platforms allow you to register a domain directly through their service, making setup seamless.
Follow For daily tips & tricks
- Learn more about Website Development.
- Learn more about SEO & Digital Marketing.
- Top Rated Website Design in Wales.
- Visit my LinkedIn for more website design tips.
- Visit my Facebook.
Step 3: Setting Up Your CMS
Once you’ve chosen your platform and set up hosting, it’s time to start building your website.
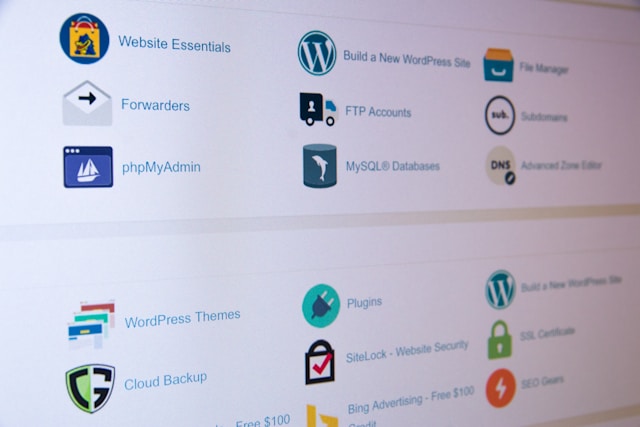
- Install Your CMS: For platforms like WordPress, you’ll need to install the CMS on your hosting server. Wix and Squarespace don’t require installation—they’re ready to go once you sign up.
- Select a Template or Theme: Choose a pre-designed template that suits your website’s purpose. Most CMS platforms offer a variety of free and premium themes.
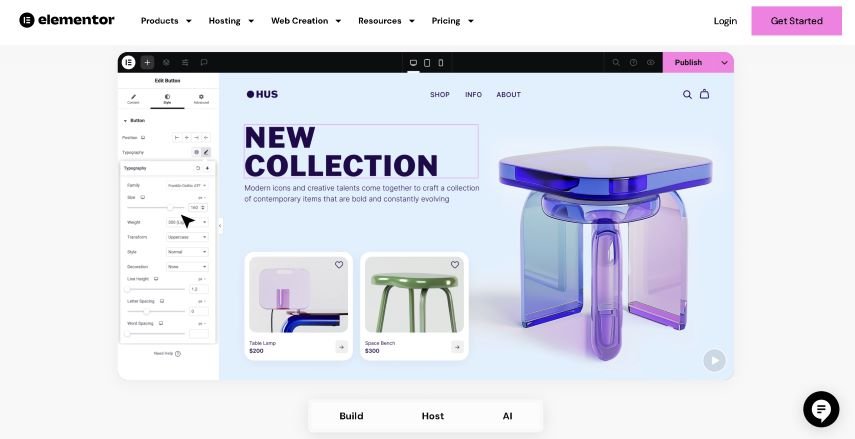
- Customize Your Site’s Design: Use the drag-and-drop builder or the customization tools within the CMS to modify the template to fit your brand. Change colors, fonts, and layouts to match your vision.
Step 4: Adding Content to Your Website
Content is the heart of your website. This step involves adding text, images, videos, and other media to your site.
- Create Essential Pages: Start with the basics—Home, About, Services, Blog, and Contact pages. Most CMS platforms offer pre-built page templates that you can customize.
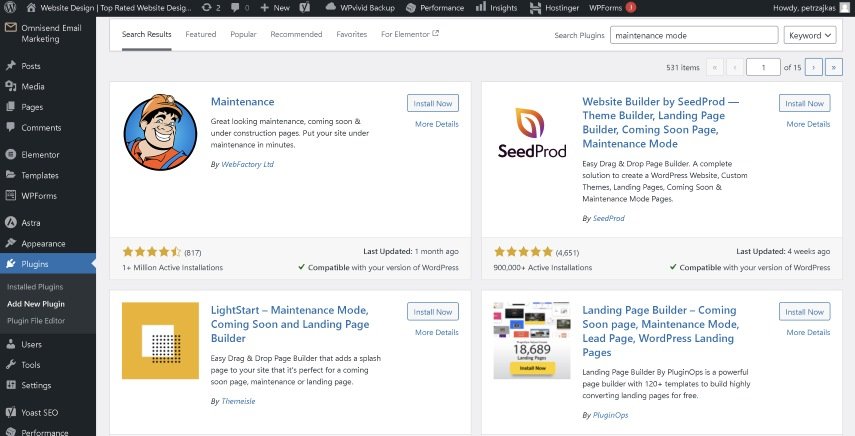
- Use Widgets and Plugins: Enhance your website’s functionality with widgets and plugins. For example, add a contact form, social media buttons, or an e-commerce store.
- Optimize Content for SEO: Ensure your content is search engine-friendly by using keywords, meta descriptions, and alt text for images. Most CMS platforms have built-in SEO tools or plugins like Yoast SEO for WordPress.
Step 5: Customizing Your Website Further
Make your website unique by adding custom features and fine-tuning the design.
- Add Custom Code (Optional): If you’re comfortable with code, most CMS platforms allow you to add custom HTML, CSS, or JavaScript for additional customization.
- Integrate Third-Party Services: Connect your website with external services like Google Analytics, email marketing platforms, or social media feeds.
- Set Up E-commerce (If Needed): If you plan to sell products or services, use the CMS’s ecommerce tools. Platforms like WordPress (with WooCommerce), Wix, and Squarespace have built-in or easily integrated e-commerce solutions
Step 6: Previewing and Launching Your Website
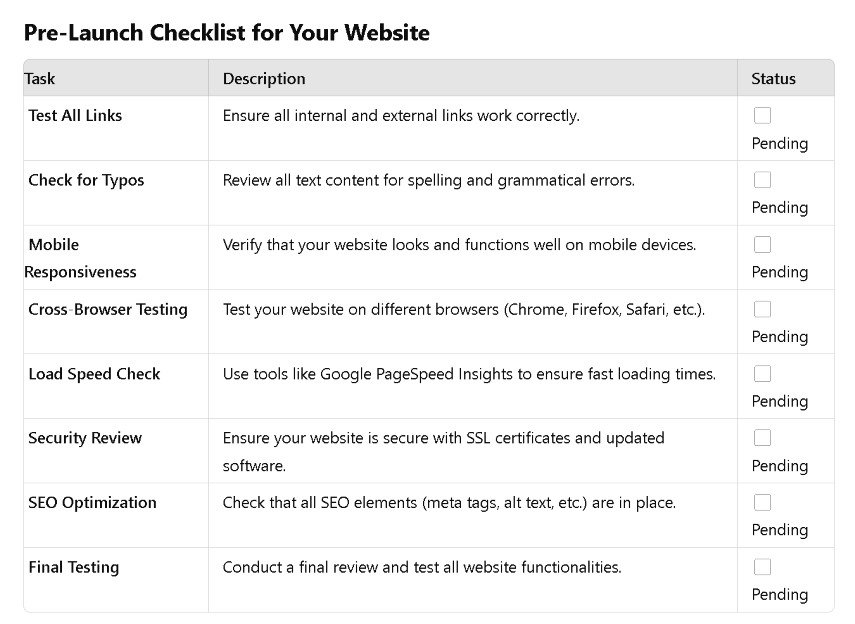
Before making your website live, preview it to ensure everything works correctly.
- Preview Your Site: Most CMS platforms allow you to preview your site on different devices (desktop, tablet, mobile) before it goes live. Check for responsiveness and functionality.
- Launch Your Website: Once you’re happy with how your site looks and works, it’s time to launch. CMS platforms usually have a simple “Publish” button that makes your website live.
- Promote Your Site: After launching, promote your website through social media, email newsletters, and SEO to attract visitors.
Step 7: Maintaining Your Website
After launching, regular maintenance is crucial to keep your website running smoothly and up
to date.
- Update Content Regularly: Keep your website fresh by adding new content, such as blog posts, case studies, or news updates.
- Backup Your Website: Regularly back up your website to protect against data loss. Most CMS platforms offer automatic backup options.
- Monitor Performance: Use built-in analytics tools or third-party services like Google Analytics to monitor your website’s performance and make improvements as needed.
Resources
Using a CMS platform is one of the easiest and most effective ways to build a website in 2024. By following these steps, you can create a professional and functional website without needing extensive technical knowledge. Keep experimenting and refining your site to ensure it continues to meet your needs and those of your audience.
- CMS Platforms: WordPress, Wix, Squarespace
- Hosting Providers: Bluehost, SiteGround, HostGator (for WordPress)
- SEO Tools: Yoast SEO (WordPress), Wix SEO Wiz, Google Analytics
- E-commerce Solutions: WooCommerce (WordPress), Wix Stores, Squarespace Commerce